


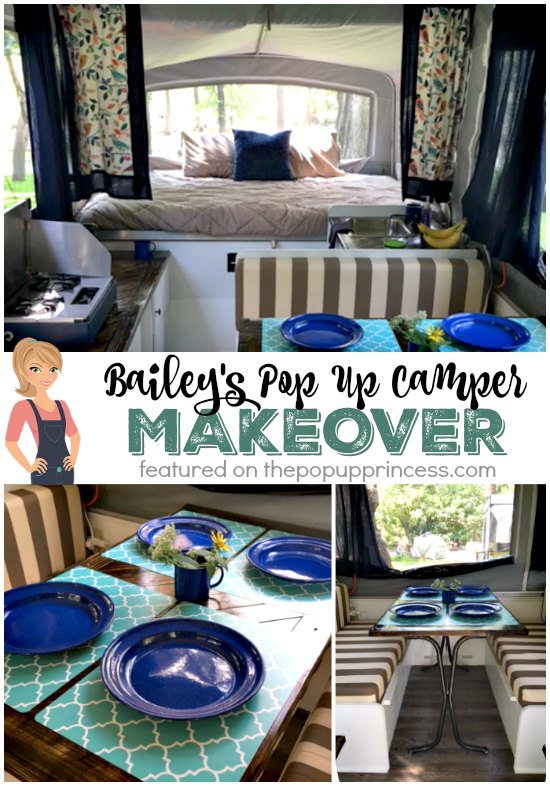
 I just love this next makeover, because it has such a cute story. Bailey and her boyfriend, Spencer, are college students who are working towards degrees in their career fields. They are pretty busy, but love to travel and realize the importance of getting outdoors frequently. They saved their money, bought a cute little pop up camper, and got to work making it their own. Here’s Bailey to tell you all about it…
My name is Bailey, and my boyfriend, Spencer, and I decided we wanted to buy a pop up camper a couple of months ago. Spencer and I are both 21 years old and have been dating since we were 16. We are both in college pursuing careers, but we love the outdoors and really want to travel more. It helps to get away from the books on the weekends, and we decided that buying a pop up camper would be a good way to travel on a budget. We got to looking on a local website and came across this 1998 Dutchmen. When we went to look at it, we knew it was the perfect camper for us and drove away with it that day for $1,500. We were just thrilled. Spencer and I both knew that we wanted to remodel it, so that weekend, we got to work. 😉
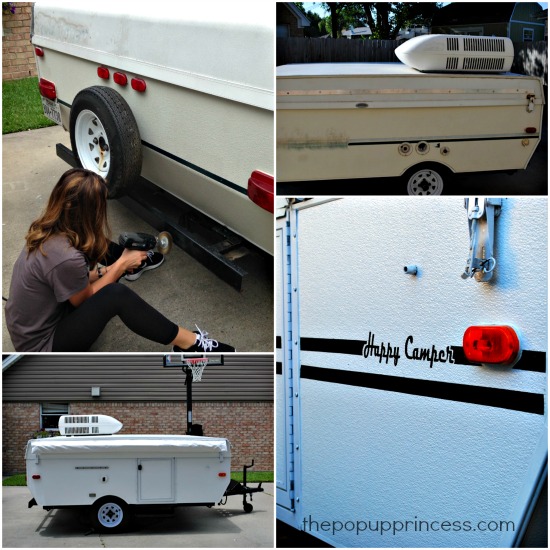
First, we worked on the outside. We removed all the stickers from the exterior, and by the way, the heat method is the way to go. (You can read all about that here.) By the end of the day, the whole outside was painted white and the trailer frame was repainted black. The very last little touch on our exterior was a custom sticker we bought for the sides of our camper. This is our little “Happy Camper” that we love so much, so we decided to add that name to the outside of our PUP.
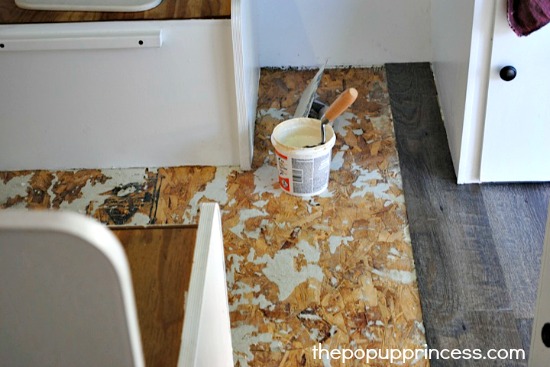
The next project was to remove all the doors, hardware and countertops from the cabinets. Once everything was out and prepped, the cabinets got painted. The floors were totally stripped, and we put peel and stick vinyl down from Lowes. I spray painted all the hardware, the fridge, and the stove.
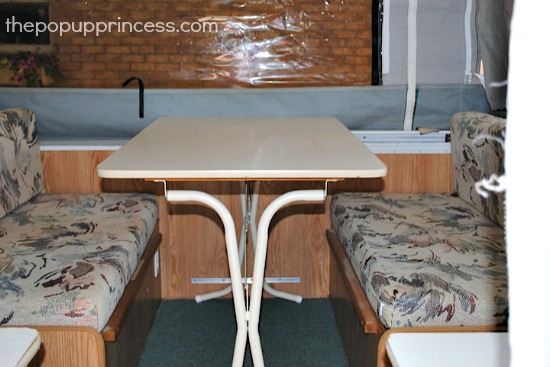
 For the countertops, we were inspired by an idea we saw on Larissa’s blog. We loved Becca’s table so much, we decided we wanted to incorporate something similar into our camper. All the credit goes to my sweet Spencer. He did such an amazing job building them. He used the old countertops as templates and build the new ones exactly to scale.
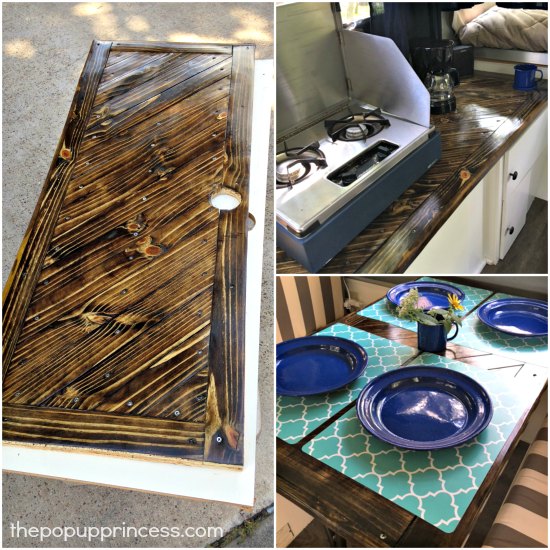
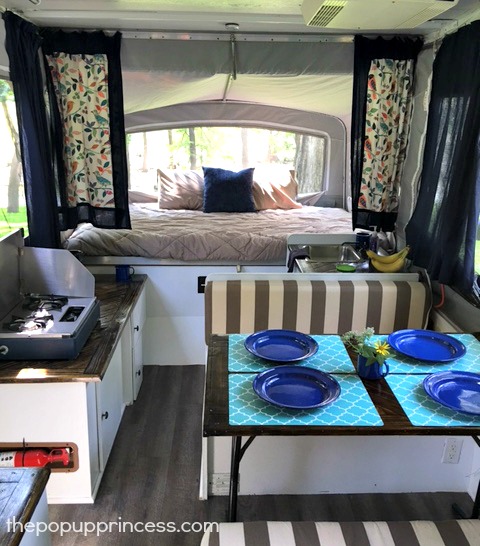
I bought fabric for the curtains on sale from Hobby Lobby. Those curtains were quite an undertaking, because I am a new to sewing, and this was my first big project. They turned out exactly how I pictured, though. Thankfully, I have an interior designer and a upholster in my family, which worked out in my favor. For the seat cushions, my uncle, the interior designer happened to have a roll of Sunbrella laying in his office. He gave us that fabric for the cushions. We lucked out there because Sunbrella was definitely not in the college budget! 😉
 This little camper has been such a joy to Spencer and me. We really loved fixing it up, and all the makeovers on Larissa’s website were such an inspiration to us. I now hope that my “Happy Camper” can help and inspire other pop up lovers. 🙂
I absolutely love how the camper turned out, and I am even more impressed that, as young as they are, Bailey and Spencer were able to do most of it on their own. What a great experience and an awesome way to see the country on a limited budget! Beautiful work, Bailey! You and Spencer inspire me. Enjoy your travels!
Happy Camping!
Happy Camping!

As Bailey’s Mom I am proud of the adventourous young lady she has become. Bailey and Spencer are very responsible and spend their money wisely. As a parent makes me very proud of them.
This is awesome. So proud of Bailey and Spencer for their hard work and ingenuity.
Very pretty! Great job!
Looks great. I love the “Happy Camper” on the outside!
I absolutely love the way the painting of the OUTSIDE of the camper looks. Can anyone tell me the best product to use to paint the exterior please?
The absolute best paint would be automotive paint. We set up a makeshift paint booth in our garage and used single stage automotive paint to give our camper new life. Mr. TypeTwoFun mixed the paint and used a HPLV sprayer and air compressor to do the job. It looks original. It is absolutely perfect. If you aren’t confident doing that, I have heard that people have great results with oil based Rustoleum. I haven’t seen it in person, but I know that some either roll it on with a dense sponge roller or spray it on in just a regular old rattle can. I am a perfectionist, so I was afraid of that route, but if your exterior is in pretty rough shape anyway, it might be worth a shot. I would definitely use oil based paint and a primer made for metal, though. No latex. 🙂
These two are not your typical college kids, but rather highly motivated, successful and dedicated to projects they are passionate about. Both were raised with a solid work ethic and come from amazing parents and grandparents who have taught them well. This little camper turned out beautifully! Happy camping for years to come, Spencer and Bailey❤
Great job guys! Love your story. Wishing you many fun years together camping and growing as a couple. Cheers.
Love what you did Bailey! I just bought the same camper! I have a question about the curtains. Did you take down the bunk end of the curtains? If so HOW?????? I can’t figure out how to get the curtains off since they do not have the screws in them like the privacy curtains do. Would appreciate any help you can offer.
Wondering if anyone can tell me where I can buy custom exterior stickers/decals like those they bough for their “Happy Camper”. I’m looking to do something similar with our camper’s name. Thanks.
Love your countertops! We want do something similar. Did you use a backer board for the them? If so, how did you make sure it wasn’t visible from the side (i.e. seeing a rough piece of MDF or plywood under the actual top)?