


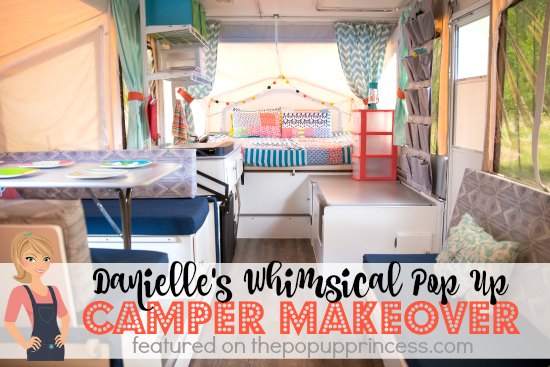
 I’m absolutely loving the next pop up camper makeover. Danielle’s camper was in great shape–after all, it was only two years old. She had been a longtime fan of this blog but knew she would have a tough time convincing her husband that their 2014 Flagstaff needed a makeover. She also knew that because they were in the midst of a kitchen remodel at home, he would have very little time to help her with any projects.
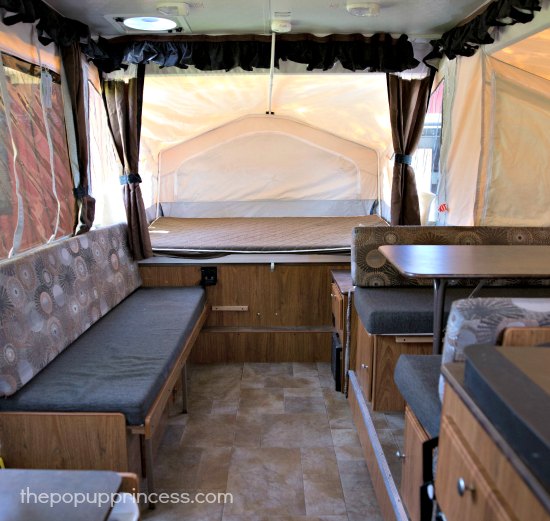 When their kitchen remodel came to a stand-still due to electrical issues, Danielle sprung the idea of a camper makeover on her hubby. To her amazement, he was on board. That’s all the encouragement Danielle needed to get started. She got right to work.
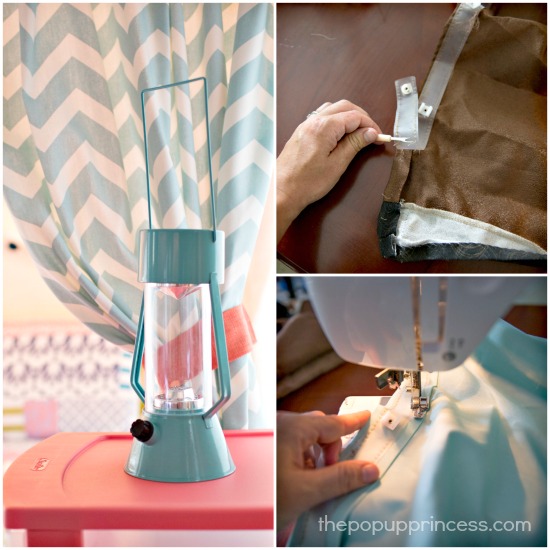 Danielle’s remodel plans happened to fall in line with a huge sale at JoAnn Fabrics, so she was able to get most of her fabric for 70% off. What a steal! She removed the glide tape from the old curtains with a seam ripper and sewed it onto the new curtains. She was able to use the original zippers and vinyl bottoms on the cushion covers as well, both of which offered her a significant savings on her materials.
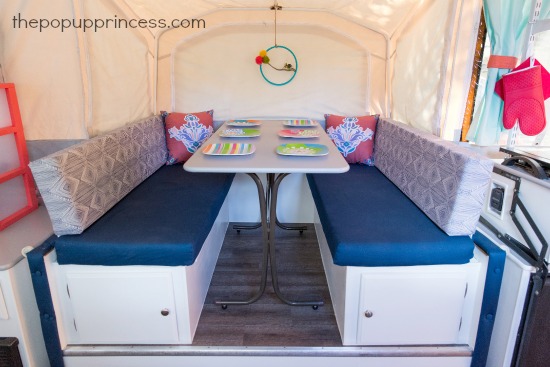 Danielle told me that those cushions almost did her in, but she was able to finish them on her own. She used the old covers as patterns, so she can still remove them for washing as necessary. I think she did an amazing job! They look so professional.
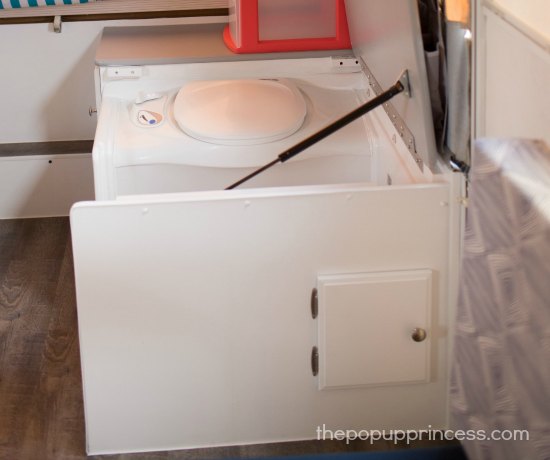 Danielle used Zinsser 1-2-3 primer on all of her cabinetry and followed it up with a semi-gloss white paint. She was able to reuse all the original hardware and outlet covers, but replaced the plastic t-trim using the tutorial we posted here. I love how crisp and clean those new white cabinets look! 🙂
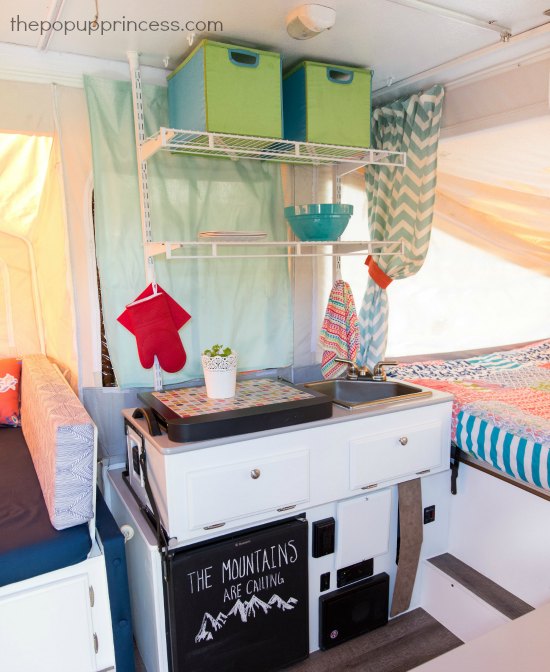 Danielle painted her fridge with chalkboard paint and gave her countertops a coat of Rustoleum countertop paint. The camper was really starting to come together, and she was encouraged to keep going. The last item on her makeover list was the floors.
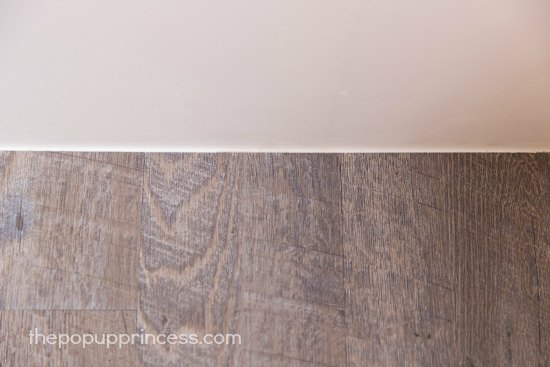 Danielle purchased her plank vinyl flooring from Lowe’s, and she tells me that one box was more than enough to floor the whole camper. She used a primer first, then laid the new planks right on top of the original floor. She was able to use a utility knife to score and snap each plank to the necessary size, and since she didn’t want to distract her husband from the kitchen project, she ran a bead of caulk along the edge of the floor to avoid laying quarter round trim.
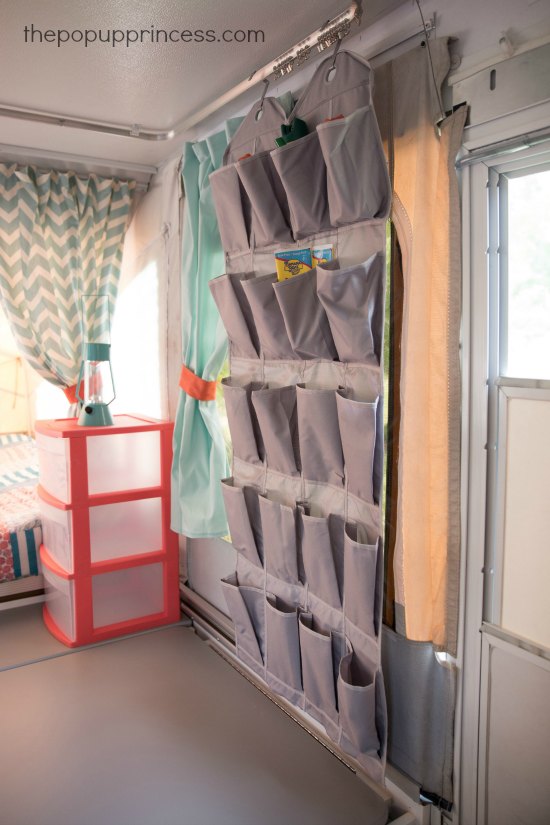 Danielle has three kids, so organization is a must. She incorporated a few of our storage ideas and came up with a few of her own to keep her camper well organized. She used cute matching plastic drawer units on the counters and built tension rod shelving (tutorial here) over the kitchen sink. She also added a few shoe organizers to keep smaller items from cluttering up the camper. I love that pocket organizer! What a great idea!
 I have to say, though, that my favorite thing about Danielle’s makeover is her use of color. Danielle did an amazing job with all the details, from the brightly colored bedding to the pom-pom garland, fun dishes, and fabulous pillows. The camper has such a whimsical feel, and it is perfect for making some childhood memories. It is a far cry from the perfectly adequate, but dull, brown pop up camper Danielle started with.
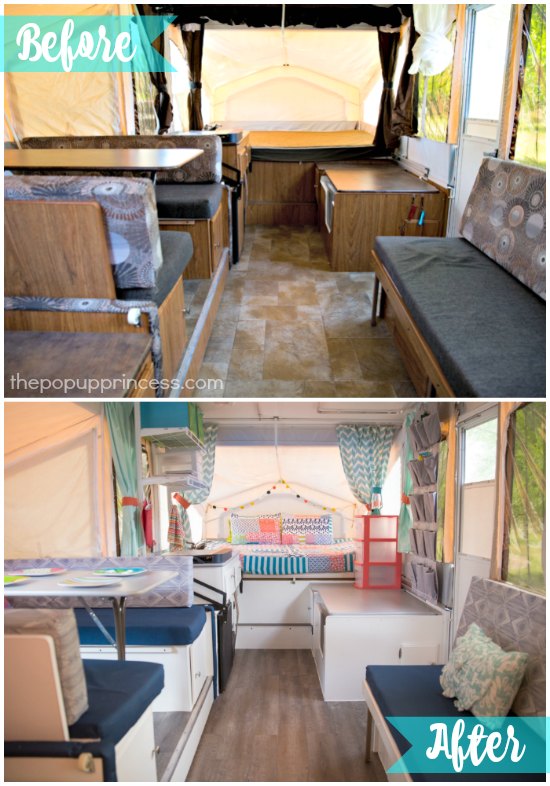 Danielle really went all out with her makeover, and I know she is so glad she did. It really turned out beautifully. Thank you so much for sharing it with us, Danielle. I know you and your family will make some amazing memories in your new PUP. 😉
Disclaimer: This post contains Amazon affiliate links. The Pop Up Princess is a participant in the Amazon Services LLC Associates Program, an affiliate advertising program designed to provide a means for sites to earn advertising fees by advertising and linking to Amazon.com. This means that if you choose to purchase an item from a link in this post, The Pop Up Princess earns a small advertising fee to help pay for future projects and posts… so thank you! 🙂
Happy Camping!

Very pretty!
Amazing job!! I wish I had the courage to attempt something like this. We have a 2011 Coachman Clipper, great shape but boring, I would love to add some colors to it. This was a job well done..
LOVE IT1!!!! This looks identical to mine! I have the same issue with remodeling it when it is so darn new. So happy to see this done on a newer model. I am a little scared to update mine since its in such good shape. But, this is giving me some courage 😀
Vanessa, I totally feel ya! We just remodeled an older one and decided to sell it and upgrade to a larger and newer pop up. It is in great shape and clean. I hate to mess with all the newness, but hopefully I can accessorize with color and still accomplish a makeover! Good luck to ya!
I love this remodel. We have the same floor plan and I have a few questions. It looks like you removed the shower curtain and didn’t replace it. How does this work for the potty? We will be using the potty for night time use only, but may have my parents and our kid’s friends with us at times, so a curtain seems right, but it blocks so much of the space so I’m just a bit curious how you handle that.
I’m also wondering about where you got that quilt? I LOVE LOVE LOVE it and your color choices!!!
Curious about the shower curtain as well.
This is beautiful, great job!!!
I am very curious about the storage rack above your sink. What did you use, and how do you get it to stay up? Also, how do you store it once you’re closing the camper? Thanks so much!!!
That is Danielle’s take on the tension rod shelving we did a tutorial on here. You just take it apart when you are closing the camper. Ours stores neatly on the dinette bed.
Can you give more details on how you accomplished the flooring update with the slide out?
This floor plan is just like ours. I can’t wait to try some of these ideas!
I have this same floor plan as well. I am actually starting to remodel. I started with sanding the cabinets. I noticed that each side of the slide is a space that I cannot quite reach with sand paper or paint. Have any tips that you may have used? I can provide pics of the area 😀